 Meter Matters
Getting started
An account, the Add bills page, and a word about where your home is. By the end you will have your first bill on file and know which of the three ways in suits you.
1. Create an account
Open the app and choose Create an account. It takes an email address and a password of at least ten characters. A few unrelated words is a good password and easy to remember. If the server offers Continue with Google you can use that instead: Google tells the app your name and email address and nothing else. It does not give the app any access to your mail.
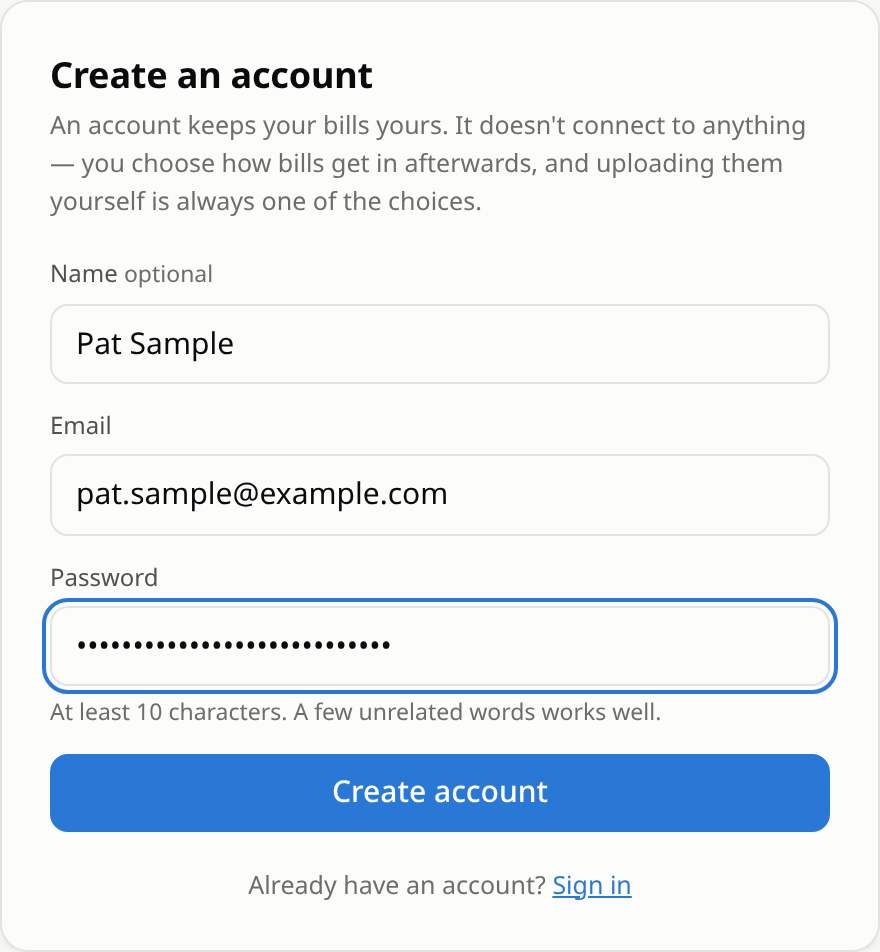
Signing in keeps you signed in for thirty days on that browser. Sign out is at the top right of every page. There is no password reset yet, so keep the password somewhere safe; the security page says what to do if you lose it.
2. The Add bills page
After signing up you land on Add bills. It is also behind the Add bills button at the top of every page. Everything about getting data in lives here, top to bottom:
- Your private bills address, when the server has forwarding switched on. Have your mailbox forward your utility's bill emails to it and new bills file themselves. Forward your bill emails
- Upload them yourself. A spreadsheet or Green Button file from your utility's website. This is the one that brings in usage (kWh, therms, gallons) and years of history at once. Upload your utility's files
- Add a bill by hand, for a bill on paper; or drop a photo of it and the numbers are read off for you to check. Type a bill in, or scan it
- About your home: state, ZIP code and utility. Covered below.
- Your homes, once you have more than one. More than one home
- Your account, including deleting it and everything in it.
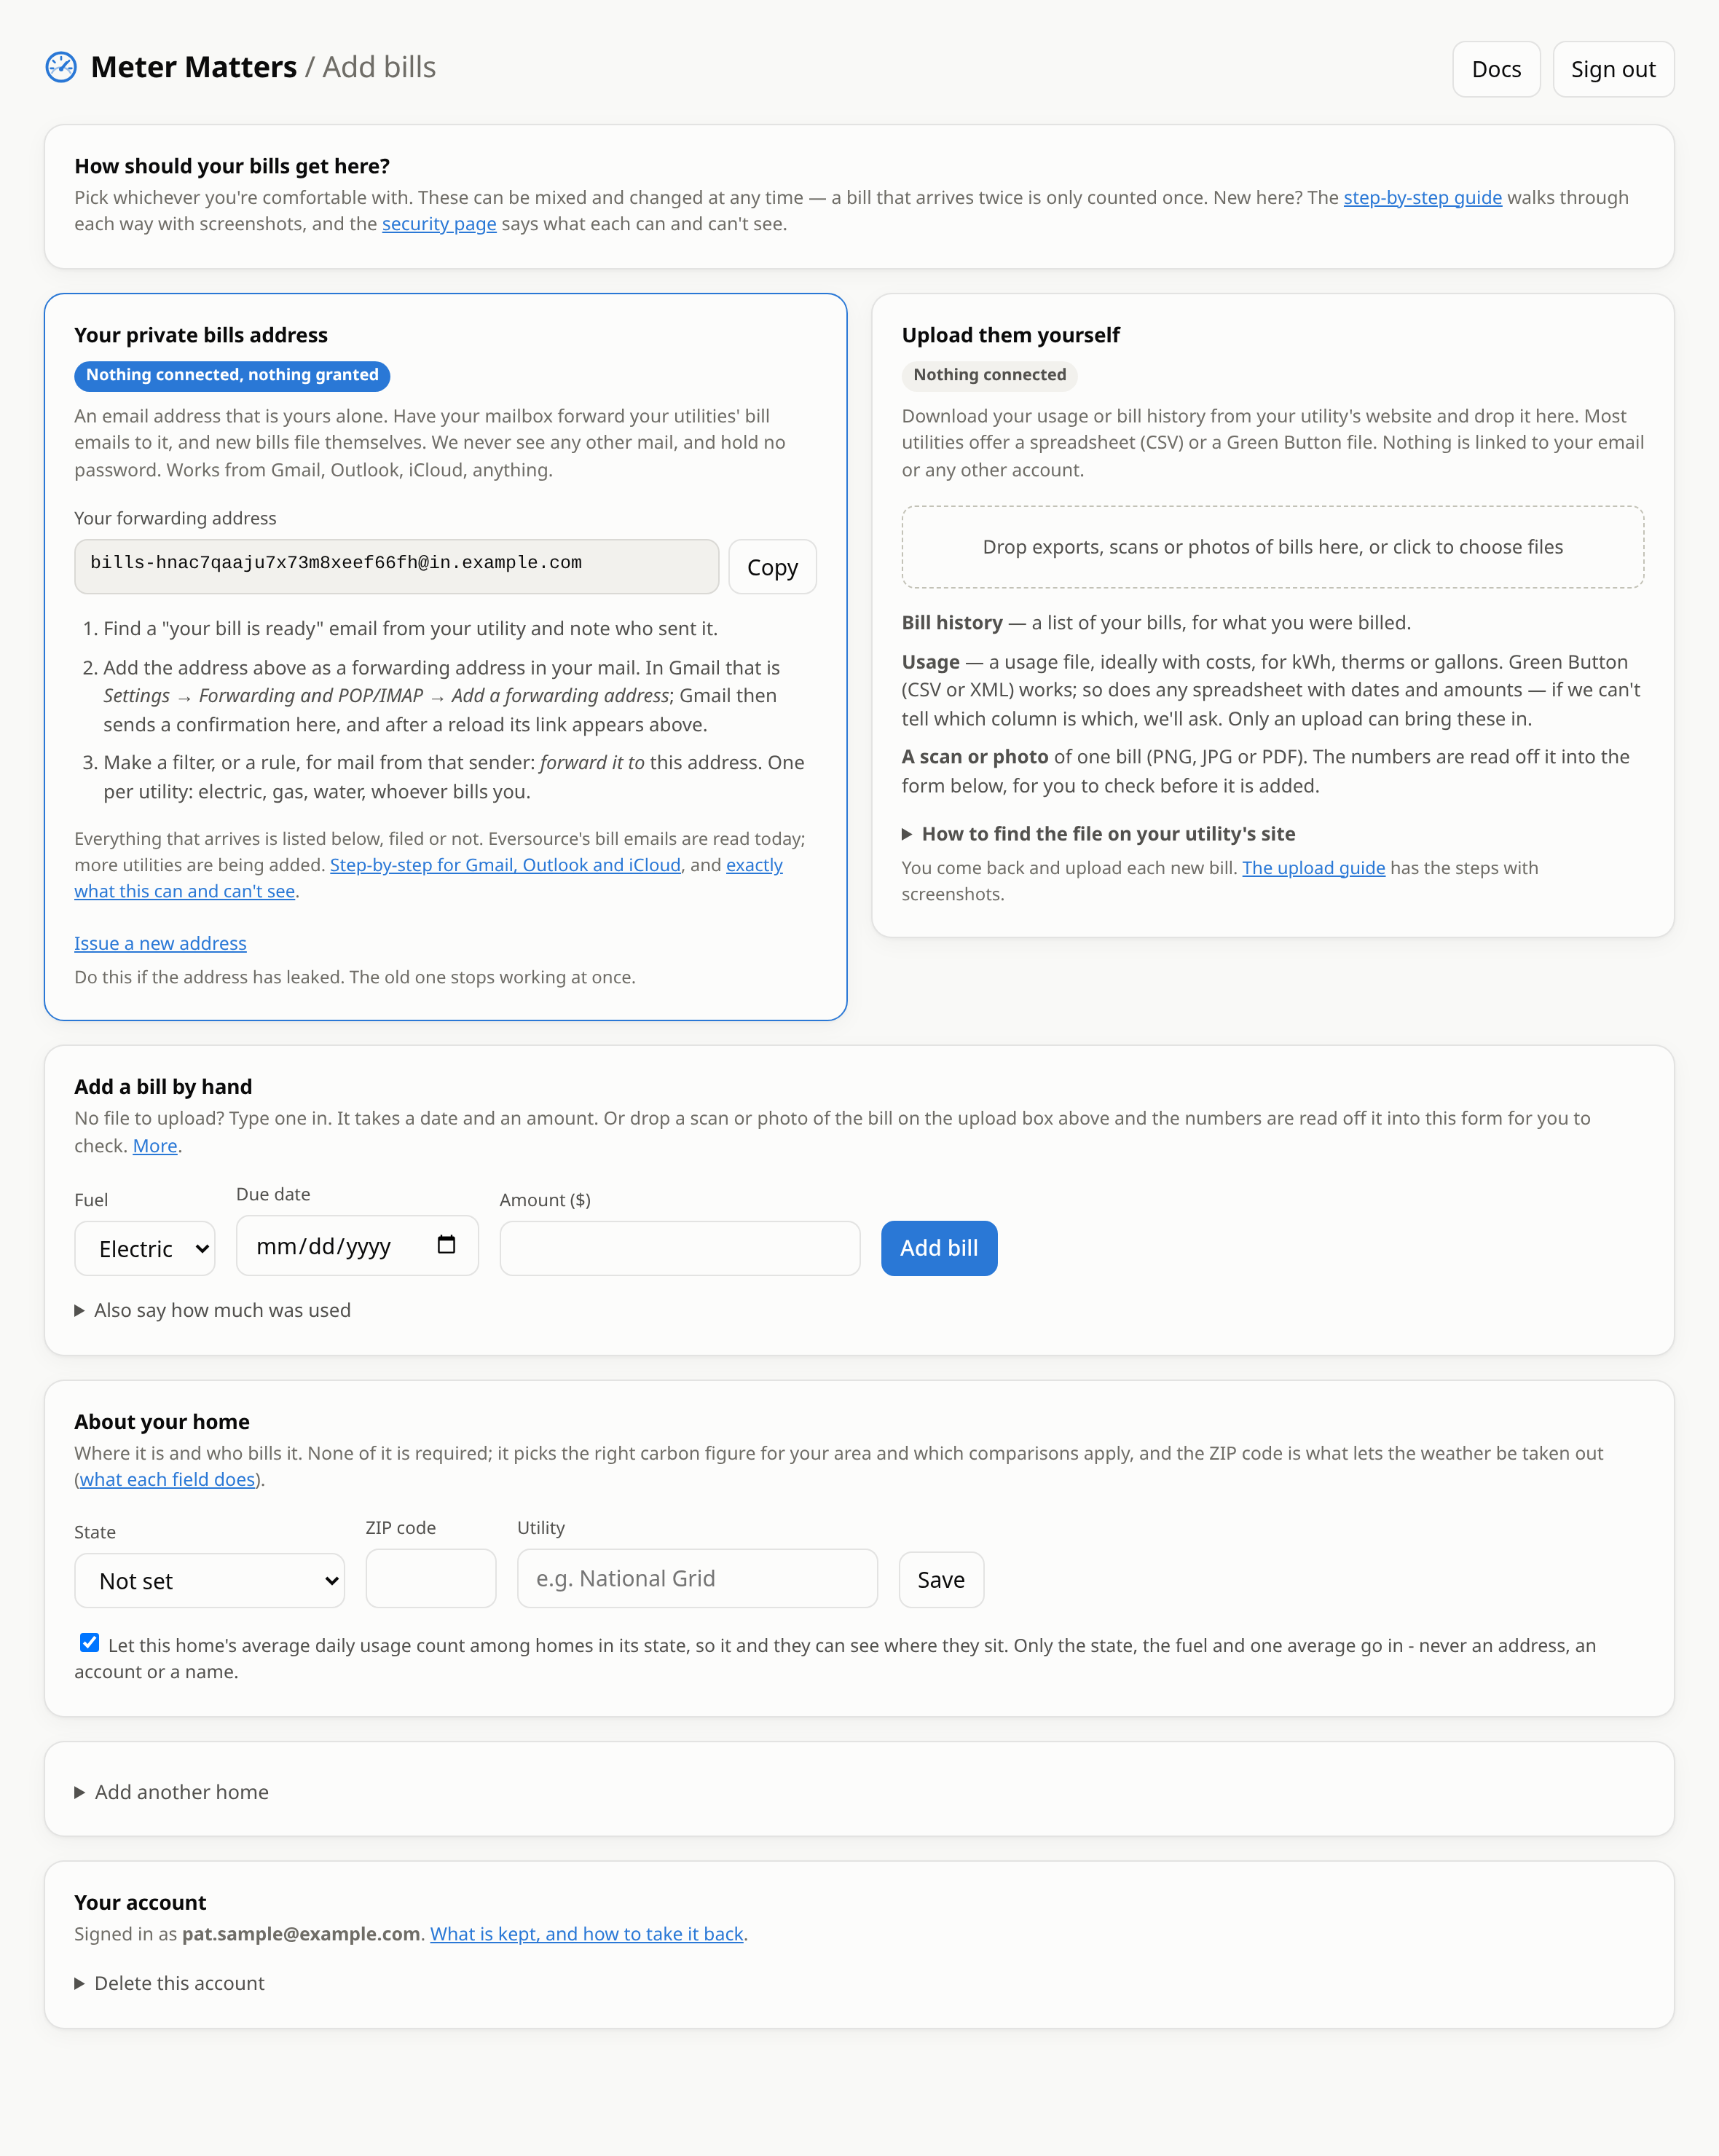
The three ways can be mixed and changed at any time. A bill that arrives twice, say once in an upload and once by email, is counted once.
3. Your first bill
The quickest first bill is an upload: sign in to your utility's website, download the billing history or usage export, and drop it on the upload box. The upload page says where each utility keeps the file. Thirty seconds after the drop you are looking at your dashboard with every bill in the file on it.
No file handy? Type the amount and due date from the bill in front of you into Add a bill by hand. One bill is enough for the pages to come to life, and the rest can follow later.

4. About your home
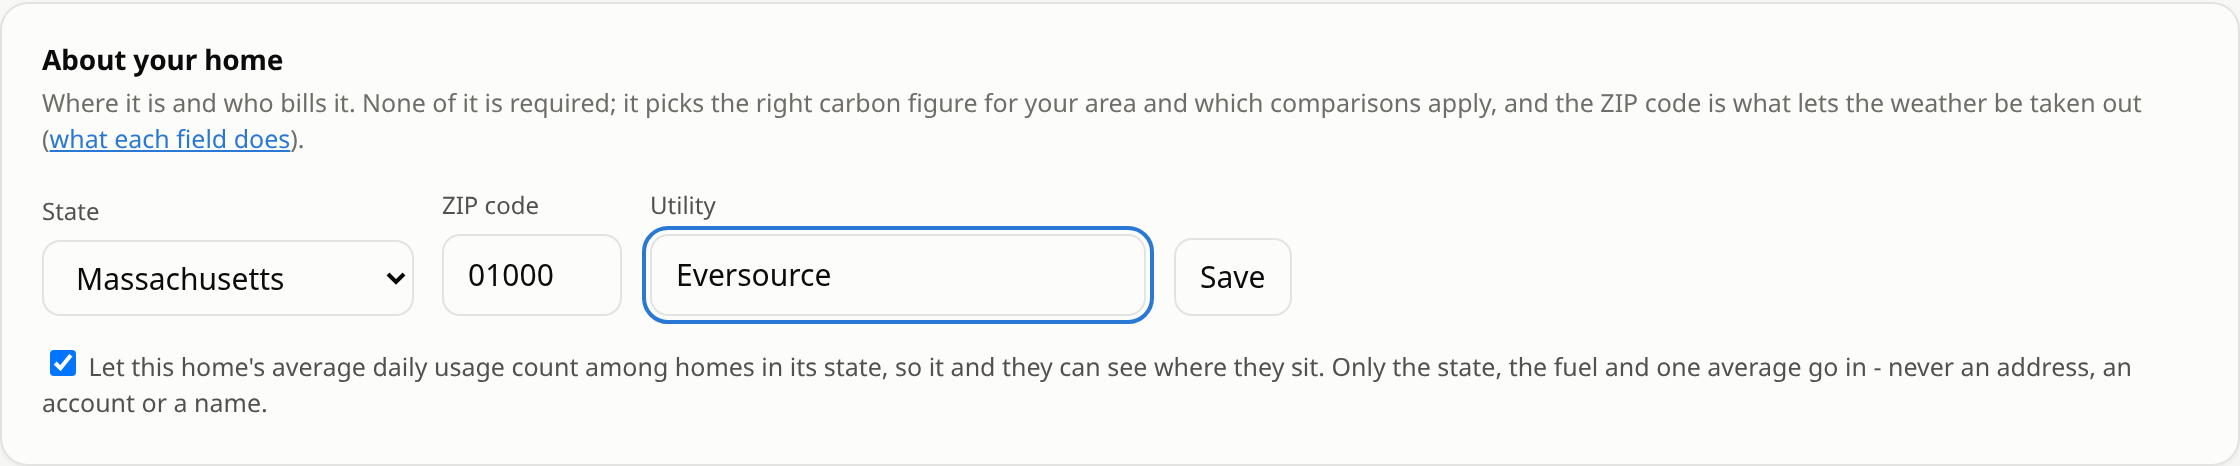
Further down the Add bills page is About your home. None of it is required, but each field unlocks something:
- State picks the carbon figure for your grid, and which comparisons apply. Massachusetts homes also get supplier offers on the Rates page. If your usage export names a state, it is read from there and shown as "Detected".
- ZIP code is what lets the weather be taken out of the comparison with last year, so a cold winter is not mistaken for a wasteful one. Only the ZIP is ever sent to the weather service, never an address. Without it the comparison is plain usage.
- Utility is a name for the Rates page and the tips. Type whatever bills you.
- The checkbox lets this home's average daily usage count among homes in its state, so you can see where you sit. It is on by default; untick it to opt out. Only the state, the fuel and one average go in. The security page has the detail.
5. What you see next
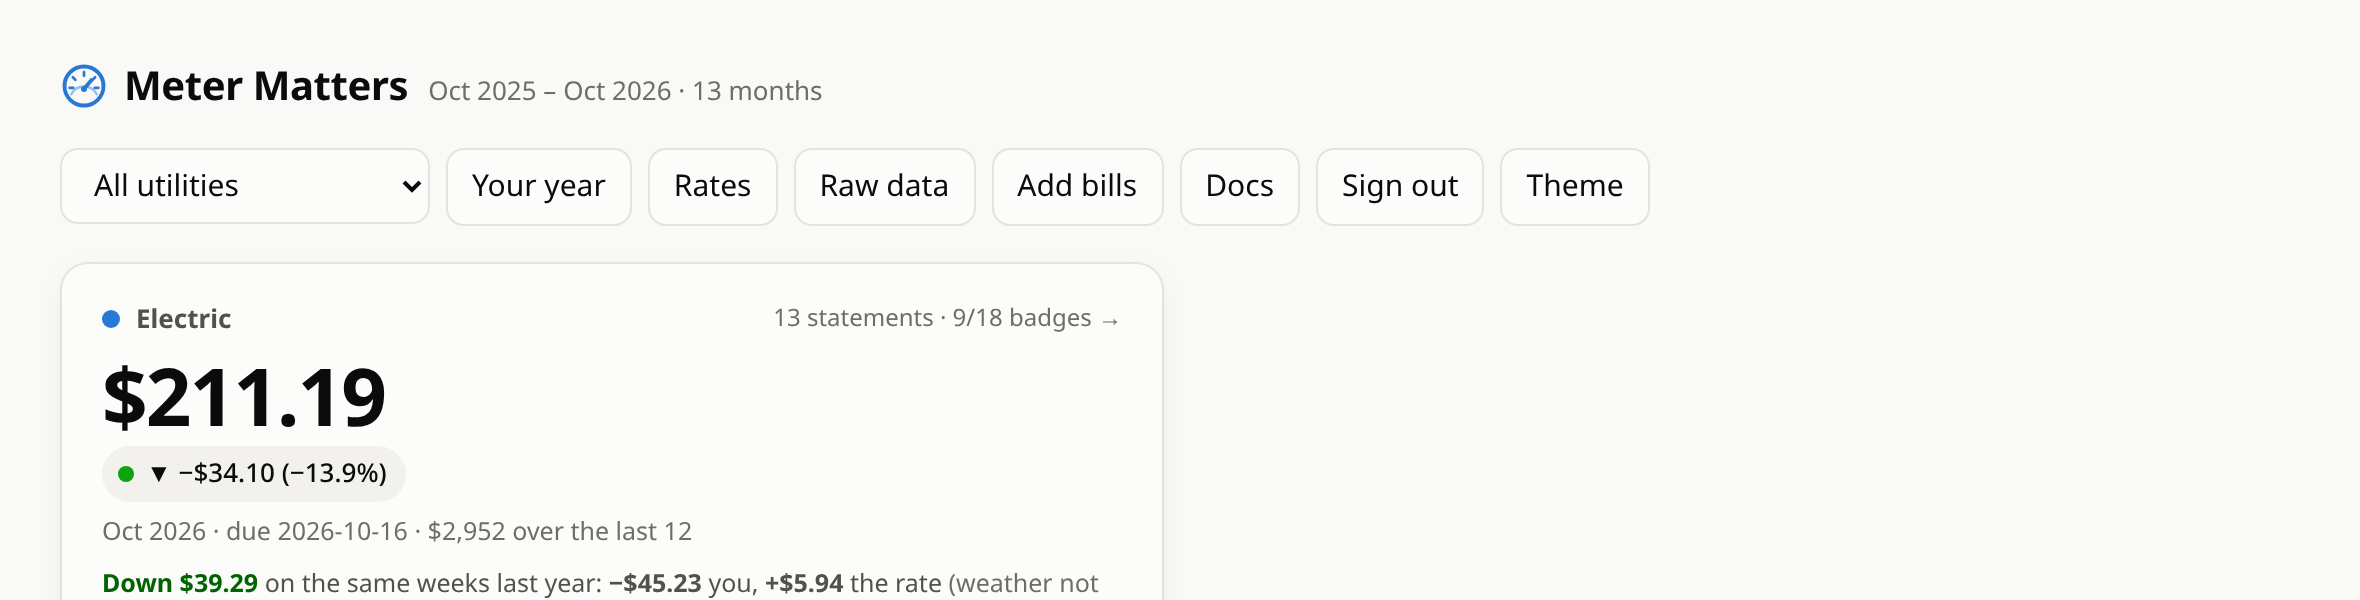
With bills on file, the overview shows each utility side by side, and each utility's own page shows the current statement, what the next one will probably be, and how this period compares with the same weeks last year once the weather is taken out. The more history you give it the better the comparison, so if your utility offers more than a year of export, take it.
From here, the usual next step is forwarding: a filter in your mailbox so you never have to come back and upload the next bill.